Leisure Activities
Magenta
The Kit Car

MG1100-based Magenta
Mini-based Magenta Sprint
The badge and original press release information contained within has been supplied
by Kingsley Forster, who formerly maintained the Magenta Register. The register is now maintained by:
Simon Caplan
82 Mill Way
Bushey
Hertfordshire
WD23 2AG
01923 238727
e-mail to: simcap at sky.com
Registering with Simon ensures the delivery of a regular newsletter about Magenta
activities and helps pool resources for finding spares etc..
This page is a subpage of former Magenta Register members Barry and Ginny Wright's full
website. It contains some scanned copies of the original Magenta documents.
Although they have now sold their Magenta, this page will remain dedicated to the Magenta marquee.
Sorry but we do not sell spares and are not agents for the Magenta marquee and suggest you contact Simon if you have such a requirement.
Some photos will enlarge into a new window on click.
|
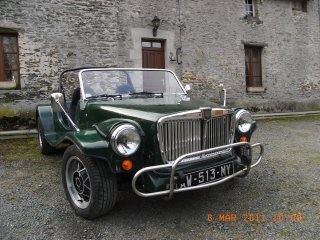
This Magenta piccy from Antoine BOYER)
|
|
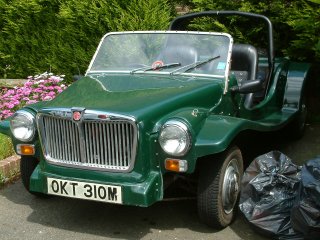
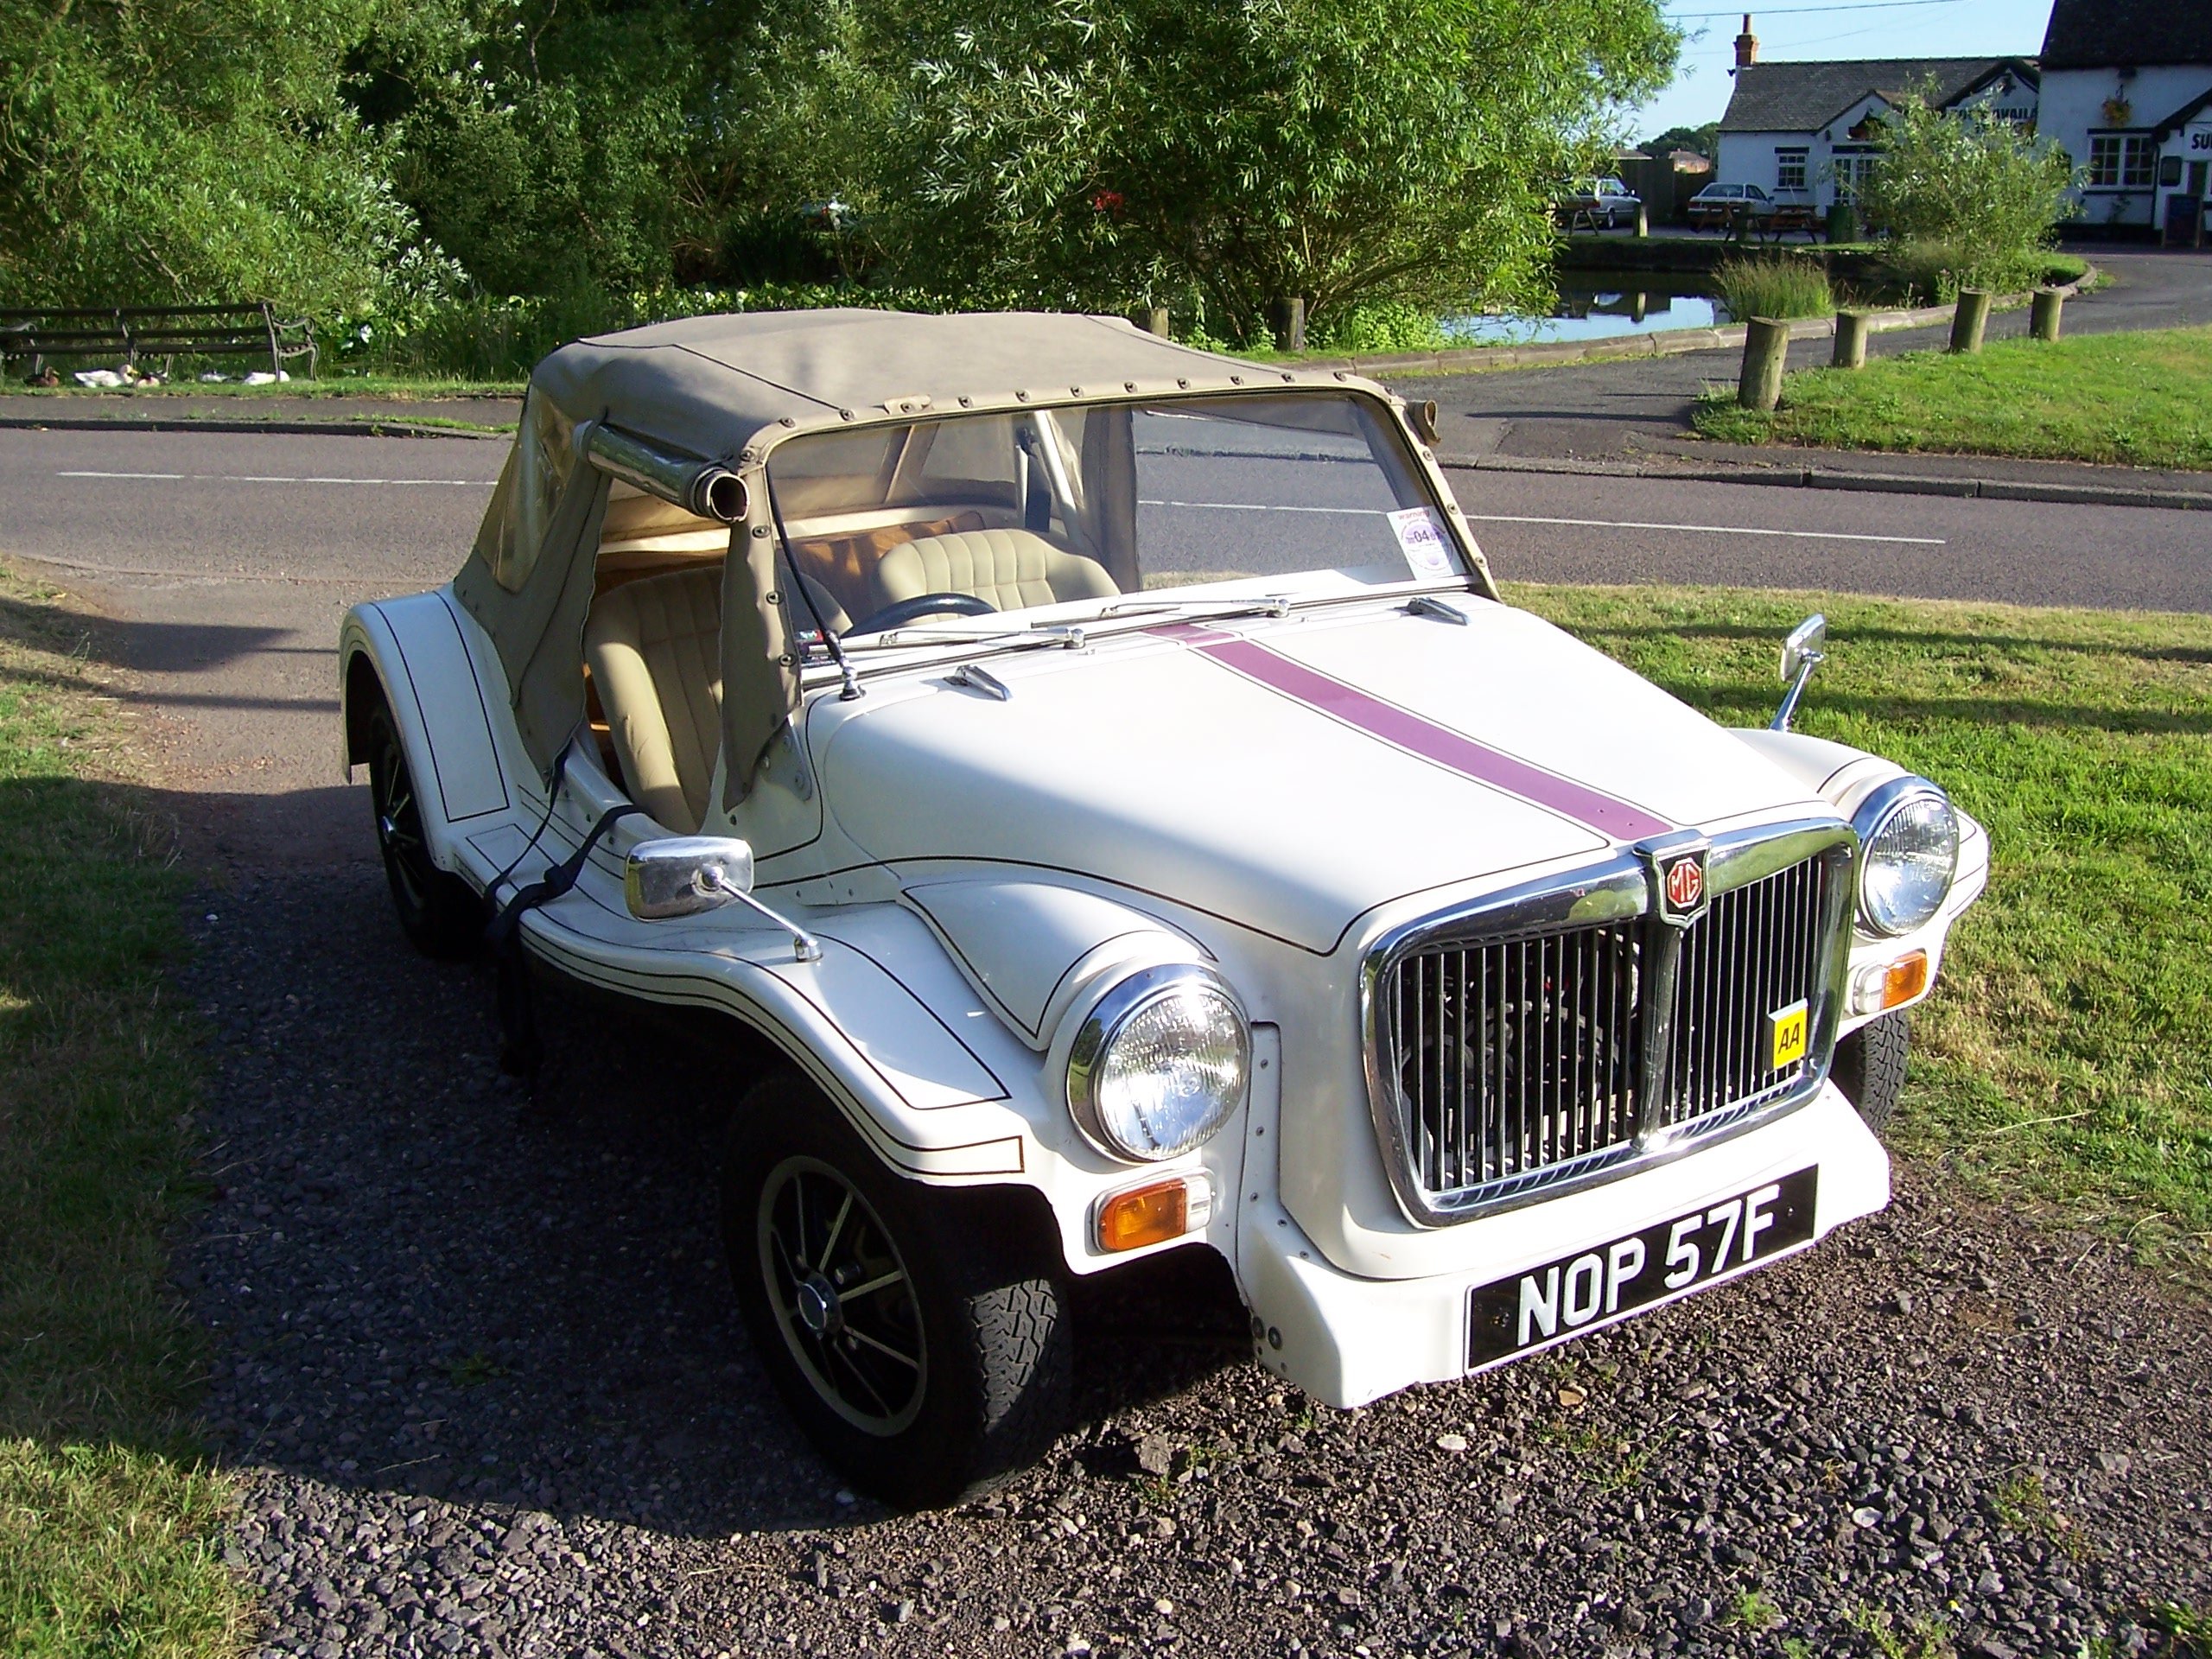
This Magenta piccy from Kenny (Magentanop57f 'at' yahoo.co.uk)

It looks superb
|
|
This Magenta spotted in Bognor - June 2005
|
 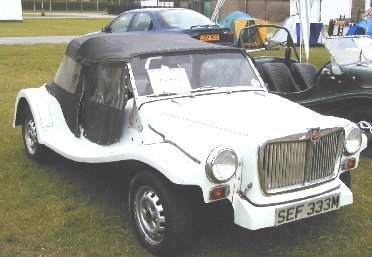
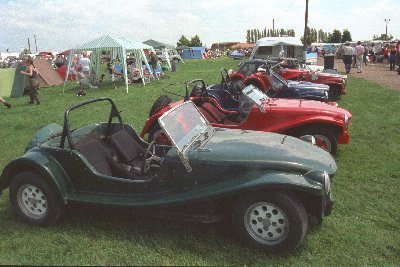 
The top 2 photos are of Magentas spotted at Harrogate 99 and the lower 2 photos are
of the Magentas to arrive at Newark 98 (acknowledgements to the owners) and the Magenta Register stand with Kingsley
and gang.
Please e-mail your digitised photos (preferably JPG format)to Webmaster. Barry
& Ginny for inclusion in these pages.
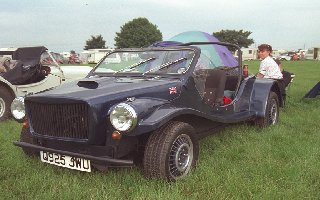
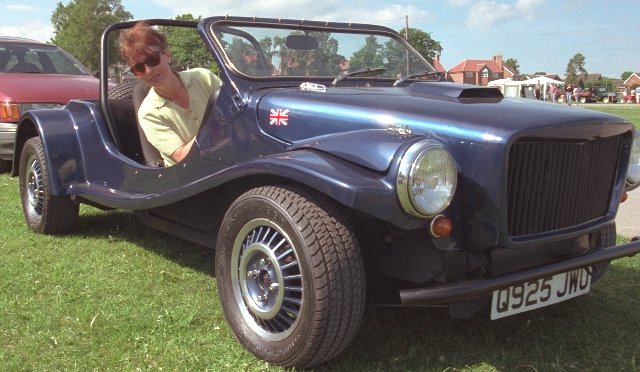
Ginny and Barry purchased their Magenta from the Harrogate show in 1997 for £600. It appeared to be a mini-based kit but with a 1275cc engine fitted and extended rear wheel arches to accommodate its wider rear axle. Since acquired they replaced the fuel tank (with thanks to the BMC1100 owners club who have their own website somewhere) and rewired most of the interior electrics. The 1275 engine demands a slight blip in the bonnet and tricky engine mounts all of which were accomplished by its previous owner. The engine was clean and ran well. All together they spent a further £300-400 on maintenance and MOTs. The car was garaged and taxed for the summer months only and was sold November 2003.
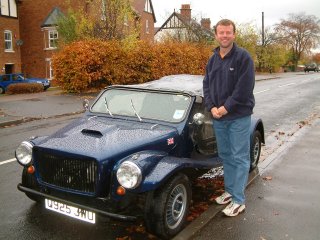
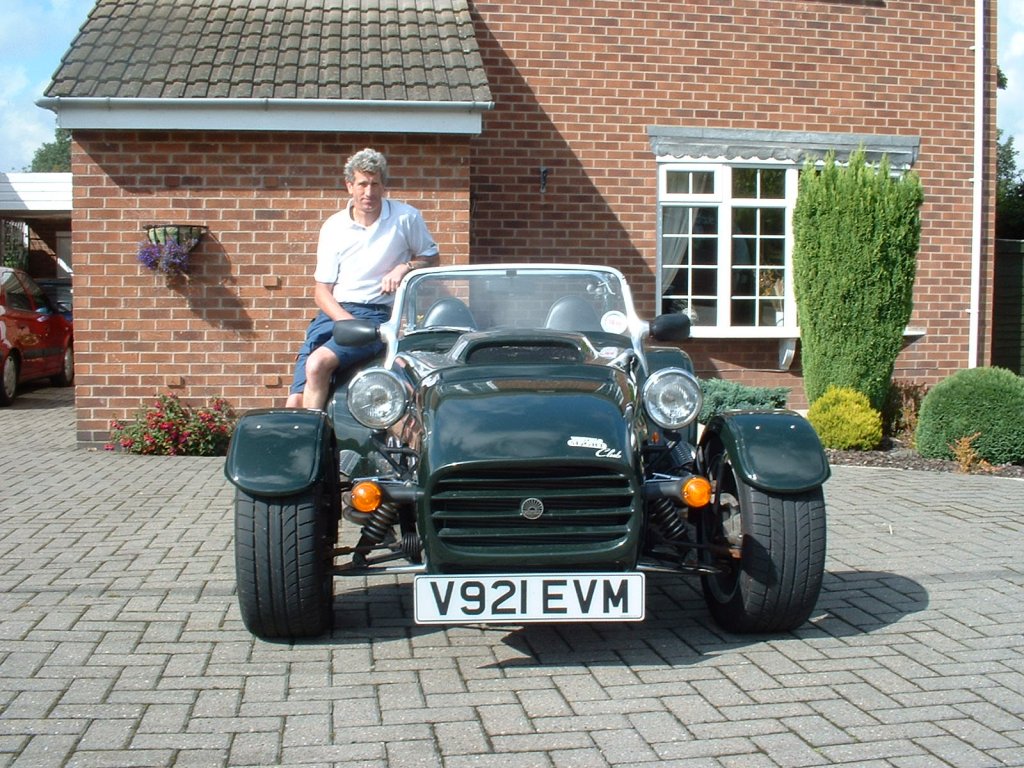
Proud new owner Ian Hopkins of Borrowash (Nov 2003).
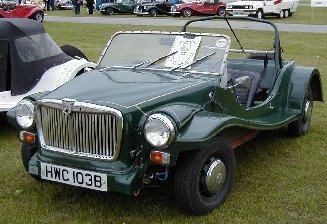
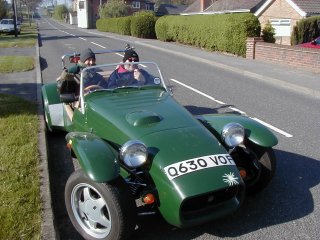
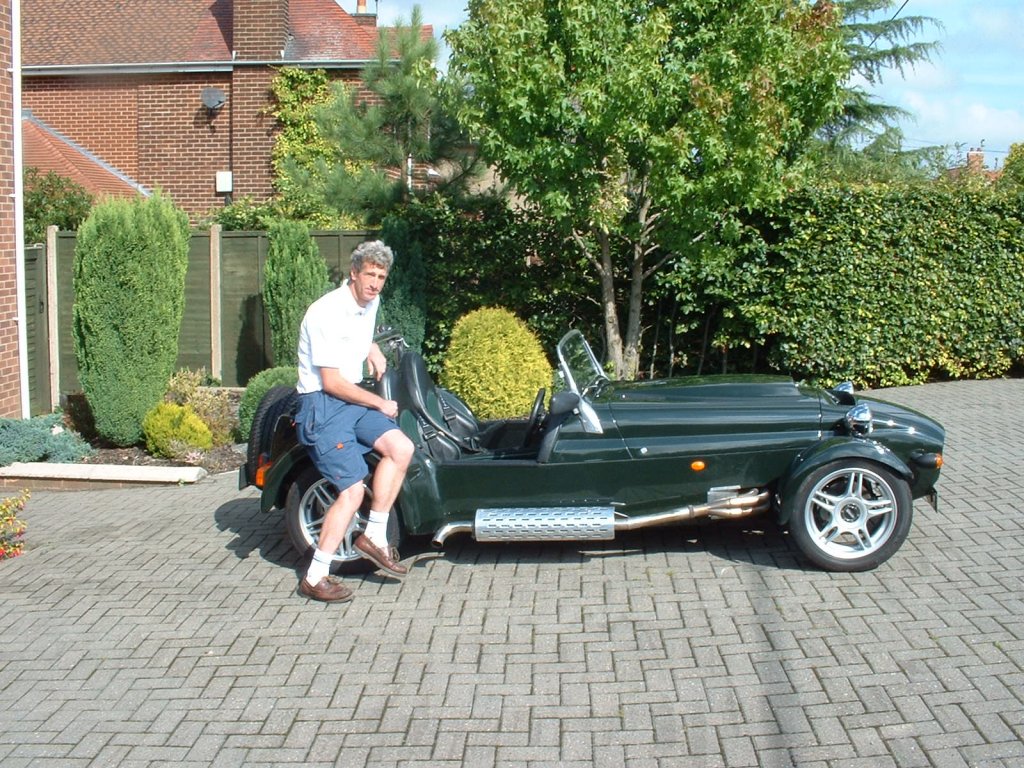
A Magenta site was available at http://www.magentakitcar.co.uk,
run by Allan Berwick (that might be his green Magenta HWC 103B higher up the page), which had more up-to-date information but at this time it is not working - I suggest you check it from time to time to see if it reappears.
Other Kitcar photos

|
|
MG1100-based Magenta
(Note some of the 1972 prices!)
Redrafted copy of the original press release for
the Magenta, the specification and the assembly instructions.
|
Lightspeed Panels,
Magenta Kit Car,
The Station,
LEALHOLM,
Whitby.
PRESS INFORMATION
NOT FOR PUBLICATION UNTIL 12 p.m. AUGUST 10th 1972.
NEW KIT CAR FROM NORTHERN BASED FIRM.
A northern firm has produced a kit car which will bring sports car stability, handling and performance within
easy reach of the do it yourself enthusiast.
The firm goes under the name of Lightspeed Panels who have a factory in Lealholm, near Whitby, Yorkshire, and the
kit car is based on the MG 1100. Called Magenta, the car is a sports tourer and is on sale as from today.
The Magenta is the result of 18 months planning by the firm which also manufactures fibreglass panels. A survey
revealed the MG 1100 to be the most up to date car readily available, that would form the basis for a kit car which
would be attractive, economical, safe , easy to build and yet still competitive, this has been achieved by good
design and the versatility of fibreglass reinforced plastics.
Head of Lightspeed is Mr. Steve Johnson who explained that there was a gap in the kit car market which the Magenta
would fill, one reason being its low cost ,the constructor can expect to have the vehicle on the road for under
£350. Asked if it really was possible to put the car on the road for as little as suggested Mr. Johnson replied,
"This is definitely so, most of the early 1100s suffer so much from body rust that they are unable to pass
the MOT test, very often the cars, apart from corrosion, are in good running order, but uneconomical to repair,
and can be bought for as little as £30".
The firm supplies a heavy gauge steel chassis, the body in a choice of colours, windscreen, fold-away hood and
the necessary mounting brackets, and seats. One of the good features of the Magenta is its light weight, at about
11 cwt. the car is 2 cwt lighter than a Mini and 5 cwt. Lighter than an 1100. This enables it to reach a top speed
in excess of that recorded by the MG but with much better acceleration.
The rigid steel chassis is designed to give a low centre of gravity and many years of trouble free service.
The wide track and very low centre of gravity aids exceptional stability, particularly in harsh cornering whilst
the brakes, discs at the front and conventional drum at the rear, provide more than adequate stopping power. The
main section of the body is in one piece for strength and ease of assembly.
The dash and bulkhead are also a one piece moulding and will take any combination of gauges or the woodgrain
MG dash and instruments. The bonnet incorporates the MG grill and gives excellent engine access when lifted, this
is particularly important to the do it yourself mechanic, and he is given further assistance by a removable panel
which links front wings and holds the registration plate. At the rear a panel strengthens the body, holds the petrol
tank, and seals the lights from slush and mud. In keeping with the sports car tradition the spare wheel is mounted
at the rear.
Can anyone build the car ?
The answer to this is definitely YES, follow the firm`s instructions and if necessary refer to manual. Since
the car is made up of assembled units, i.e. back subframe, front subframe, etc. it is mostly a case of unbolt the
unit and fit it to the new chassis, and owners who do their own maintenance should not find this difficult. No
spraying is required since the kit is already coloured. Careful attention to the manual will take care of the electrics.
Are there any problems putting the car on the road ?
Good value insurance is always a problem, particularly for the young enthusiast. If one`s present insurance
company will not accept the risk then Lightspeed have some useful addresses. Registration is simple, all that is
required are the receipts for the parts used in construction, together with the usual requirements for taxing the
car; these should be sent to the Local Taxation Department, after which the vehicle probable be inspected.
The car has been designed for 1100 components, but any of the 'A' series transverse engines can be fitted, from
the 848 mini to the 100+ BHP tuned Cooper S unit. Lightspeed is so impressed with the car`s handling that they
are currently building a MAGENTA rally car to replace the existing award winning Cooper S. Its first event will
be the Stocktonian Rally on the 2nd and 3rd of September 1972, so why not watch its performance in the rally, or
better still call at Lightspeed, it could save you money and provide you with a new and exciting interest.
Approximate cost of your new car
|
| Kit |
£250.00
|
| Second-hand car |
£25.00
|
| Tax |
£9.15
|
| Insurance |
£20.00
|
| Parts |
£15.00
|
| Tyres |
£20.00
|
| Sub-total |
£339.15
|
| Seats (optional) |
£12.00
|
| TOTAL |
£351.15
|
|
The MG 1100-based Magenta
At first the 1100 does not appear to be one of the most exciting vehicles on which to base a kit sports car.
However, many sports cars both pre-war and post-war derive their components from saloon car brothers and this practise
continues today. Our Magenta kit transforms the MG 1100 into a sports car having excellent handling and acceleration.
The completed car weighs some 5 cwt less than the original. The MG 1100 has some very desirable features which
makes it a suitable basis for a kit car. However, the bodies often suffer from rust damage while the remaining
components have served only part of their useful lives.
MG 1100 engines are very durable "A" series units. Having twin carburettors and 3 branch manifold
as standard. Approximately 55 BHP is produced. The four speed gear box is fitted with a remote change unit and
short gear lever.
The entire engine and gearbox unit, final drive and suspension components are mounted in the 1100 sub-frame,
which bolts directly to the sturdy Magenta chassis. Similarly the rear sub-frame carries the complete rear suspension
and again bolts directly to the Magenta chassis. The rack and pinion steering unit bolts to a specially strengthened
part of the Magenta floor. The entire clutch, brake and accelerator assembly bolts directly to the Magenta front
bulkhead in one unit. Brakes are discs at the front and drums at the rear, having ample capacity for the Magenta`s
reduced weight. Standard MG lighting system, self-parking wipers, high output heater and very smart dash unit have
all been designed into the Magenta.
The Magenta chassis is of 10 gauge box section steel with cross members to support the Magenta floor and substantial
brackets to attach the sub-frame mounts and secure the body. It is these features that make the MG 1100 so suitable
as a base for the Magenta. Examples of the 1100 can be cheaply obtained as MOT FAILURES, so the Magenta is very
economical and easy to construct without any special tools.
Some of your questions
Towing
As the Magenta has a chassis, a bracket can readily be fitted for towing.
Registering
To register the car the receipts for the parts used in the construction with the usual requirements for licencing
are forwarded to the local motor taxation dept.
SPECIFICATION
MG 1100 COMPONENTS
|
| Engine |
BMC 'A' series, 4cyl transverse 1098cc |
| Wheelbase |
7 ft. 3 ½ in. |
| Track Front |
4 ft. 3 ½ in. |
| Track Rear |
4 ft. 3 in. |
| When fitted with 5 ½" J wheels |
|
| Front |
4 ft. 6 ½ in. |
| Rear |
4 ft 6 in. |
| Ground Clearance |
6 in. |
| Turning Circle |
32 ft 1 in. |
| Overall dimensions |
|
| Length |
10 ft. 8 in. |
| Width |
5 ft. 3 ½ in. |
| Height |
3 ft. 10 ½ in |
| Approximate weight |
11 - 11 ¼ cwt. |
| Fuel tank |
8 Imperial galls |
| Windscreen |
Laminated |
| Suspension |
Independent front and rear hydrolastic |
| Brakes |
Lockheed 8.39 in. disc front |
| |
Lockheed 8.00 in. drums rear |
| Body |
Self colour GRP |
| Chassis |
10 Gauge rectangular hollow box sections |
| Hood |
Hood and side screens |
| Choice of colours |
Magenta, Apollo blue, Firebrand red, Black, Yellow, Icelandic White |
ASSEMBLY OF KIT CAR
Front Sub-frame
The front sub-frame is mounted on the four metalistic mountings, ensure they are the right way up and in good
condition, if the top brackets are difficult to align then spring the chassis apart with a length of timber. The
two front mountings are not required due to the reduced weight of the body.
Rear sub-frame
This is located by the four original mountings, ensure brake pipes and hoses are in good condition and replace
brake pressure restriction valve with unit supplied (Mk II Mini)- failure to do this will mean the back brakes
will lock up under severe braking. The brake pipe from the restrictor should run down the offside of the tunnel
with flexible coupling or loop, see diagram on brakes. The rubber hydrolastic pipes must clear the chassis member
(check again after pressurising). The original hydrolastic pipes, brake and petrol pipes run under front chassis
cross member and are fastened to the body when lowered in position, (the hydrolastic pipe may need bending for
a neat fit).
Rear bump stops
These fit to brackets provided in the same location as the original.
Petrol pump
A clamp should be made to go round the body of the pump, the pump is fitted in front of the petrol tank, on
the top nearside of the sub-frame with a 5/16" nut and bolt. A petrol pump bracket from a Mk I Mini will suit.
Handbrake
Remove complete with heavy duty mounting plate on the 1100, this will need to be chiseled from the body, you
also require the sealing plate that the cables go through. Trim mounting plate, paint and fit with front of mounting
plate 5 ½" back from rear edge of fibreglass cross member. Mini van cables are used with clevis pin
hole drilled out to 5/16"
Petrol tank and rear lights
Place the body on a stand so as to fit the petrol tank, put in position and bolt up a 5/16" drill will
be required. The petrol filler cap is mounted 3 ½"forward of the tail light location nearside. Two
right angled hoses 1 ½" diameter plus part of the original pipe are required for fitting.
Petrol breather
The vent pipe should be fastened with a loop as high as possible with the pipe venting through a 9/16"
hole drilled in the bottom of the fibreglass.
Steering and column
Bolt steering rack in position not forgetting foam rubber sealing ring, slack off bolts on rubber boots to
allow for adjusting track later. Place steering column on spindle and insert bolt, then locate position of steering
column support bracket ensuring it is parallel and bolt to body on either side, see diagram. When fitted the steering
wheel should be free to turn without fouling the plastic cowling. When located the steering rack and column should
be removed to allow body to drop onto chassis.
Bulkhead and Dash
The footbrake, clutch and throttle pedal mount with master cylinder as per the 1100. The heater mounts with
Smith`s label facing the dash panel, for location see diagram. Windscreen wipers see diagram, wheel boxes of wipers
have to be turned 180 degrees so as to fit mini spindle rubbers supplied. Wiper arms are Trico no13. Fit control
box, heater hose and fuse box as per diagram.
Dash
To install MG dash panel, chamfer corners off on rear side of dash at each end, cut away sufficient fibreglass
to allow instruments and switches to fit in position. With the instrument side of the dash firmly located, place
the pocket lid to over-lap the ashtray, draw a pencil line indicating the part to be sawn off, remove dash panel
and instruments. Place in vice protecting face from damage with cloth and saw down the waste side of the pencil
line with a fine tooth saw. Refit panels and screw back with self tapping screws 9/16" long. Before lowering
dash drill a 5/6" hole in position 'A' in each side of the body, with dash located mark where hole has to
be drilled, remove and drill, refit dash/bulkhead and bolt at 'A', with the dash located drill and bolt at 'B',
'C' & 'D', respectively, see diagram.
Brake and clutch bracket
This can now be fitted and bolted at the bottom, spring into place if required.
Dip switch
This is located 6 ½" from steering column to centre of dip switch.
Mounting the body
The body with rubber strip in position on the chassis can now be lowered onto the chassis and the steering
rack fitted. Bolt the body down with two bolts on front corner brackets, pack with felt pads, removed from the
boot lid. The rear is bolted down with two handed brackets supplied, which are attached to the bump stop mounting
plate, these are inclined to the rear of the car.
For Circular dials
Select instruments to be used, fitting in the following order suits wiring loom, right to left facing dash,
amp. meter, petrol gauge, rev-counter, speedometer, temp gauge, oil pressure gauge. Smith`s supplementary instruments
come with lights and wires etc. Replacement units from dealers are without these. A sprite fuel gauge suits the
tank unit.
MG grill
Before fitting bonnet, set MG grill in position, trim off any excess fibreglass to ensure good fit. Place grill
face down on non scratch surface with bonnet on top and drill 6 holes through bonnet and into grill to take medium
sized self tapping screws, remove grill and enlarge holes in bonnet to clearance size for screws then screw grill
into position. Too long a screw will indent outer face of grill surround.
Gear extension
Fit the mounting bracket to the rear of the extension as original with a 3/16" drill, drill up through
the two bolt holes into the fibreglass, then from the top drill down with a 3/8" drill and bolt mounting to
fibreglass floor with original bolts and rubbers.
Front panel
The front panel can now be fitted with three bolts down each side and a right angled bracket taken from boot
hinges will attach side to sub-frame.
Bonnet
The bonnet is fitted with the hinges 14" from the centre of the bonnet, and use original bonnet catch.
A safety catch should also be fitted, the standard 1100 catch is more suitable. Use original bonnet stay mounted
to bulk head.
Lights
Headlamps - fit bowls in position with self tapping screws.
Sidelamps - drill holes to clear lamp, rectangular 1100 lamps can also be used.
Rewiring
Connect colours to colours, if you have labeled terminals carefully rewiring will not be difficult. Take care
when reconnecting wire to switches, note that each terminal on the switch has a number, this should be used when
labeling.
Earthing
Earthing is important on fibreglass bodied cars, earths have to be looped to electrical components mounted
on fibreglass panels. The existing earths (black wires) connect some components, to complete earthing:-
- connect screen wiper to heater unit.
- Steering rack to heater.
- 3 wire earth terminal behind dash to heater.
- Starter solonoid and flasher unit to heater.
- Wire from side lamp body to headlamp earth.
- 3 wire earth terminal at front to engine.
- Loop an earth from engine to sub-frame at front.
- Earth from sub-frame to chassis.
At the rear an earth wire should be looped from sub-frame to chassis to nearside tail lamp to petrol tank to offside tail lamp and No. Plate light. The battery earth will connect to the cylinder head at the heater take off point with 7/16" AF stud.
Faults
Usually when two lamps come on together dim there is no earth or a poor one.
Horn
If the steering rack has been painted the clamps may not earth the horn, the outer casing of the steering column is insulated from the centre and this will not earth the horn.
Small indicator lamps
These can be temperamental, check and replace if necessary.
Fuse box
If fuse contacts are dirty clean them to prevent trouble.
Petrol brake and hydrolastic pipes
These should be clipped firmly to the underside of the body.
Exhaust system
The standard system will fit if the tail pipe is shortened.
|
|
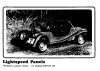
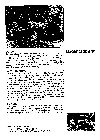
Apologies for the average quality of the following documents which
were scanned using available equipment. The originals themselves were copies but despite that the text is quite
legible.

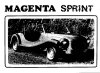
The Magenta Sprint
In early 1980 Lightspeed Panels built the Magenta Sprint. This was a lighter version of the established model
but based entierley on BL Mini running gear. Click any of the following images to see the full size document.
Top of page
|


